How to Take Better Travel Photos and Capture Memories?
How to take better travel photos is something I struggled with long before I ever worried about camera gear. I had the locations. I had the memories. Yet the photos felt flat, rushed, and forgettable.
Blurry shots. Harsh midday light. Crowded tourist scenes. I saw the same mistakes repeat from Hanoi street scenes to New York City sidewalks.
The turning point came when I stopped chasing equipment and started paying attention. This guide works whether you shoot with a mirrorless camera, smartphone cameras, or an iPhone.
It is built from real travel photography experience, not theory, and it will help you understand how to take better travel photos and memories in a way that actually lasts.
Learn to See Light Before You Touch the Camera
Light shapes every travel photo you take. I learned this early while photographing a quiet street scene near the Trevi Fountain at sunrise. Same location, different light, completely different result.
Harsh light creates deep shadows and blown highlights. Soft light adds texture, depth, and mood. This matters more than using a Canon Mark II R6 or a phone.
Sunrise offers calm scenes and cleaner tourist locations. I have photographed the Grand Canyon and Yellowstone National Park at dawn, when colors feel honest and crowds disappear.
Golden hour is the most forgiving light for travel photos. Warm tones, gentle contrast, and natural skin tones work beautifully for portraits and local markets.
Blue hour transforms urban locations. City lights around Sydney Harbour Bridge or New York City glow softly, especially with slower shutter speed and a steady shutter release.
Midday light is not useless. Look for open shade under trees, alleys, or buildings. I rely on open shade often in hot climates like Morocco or Southern Italy.
If the light feels wrong, move yourself first. Turn your body. Change your angle. Let the light hit the focal point naturally instead of fighting it.
Use Simple Composition Rules That Always Work
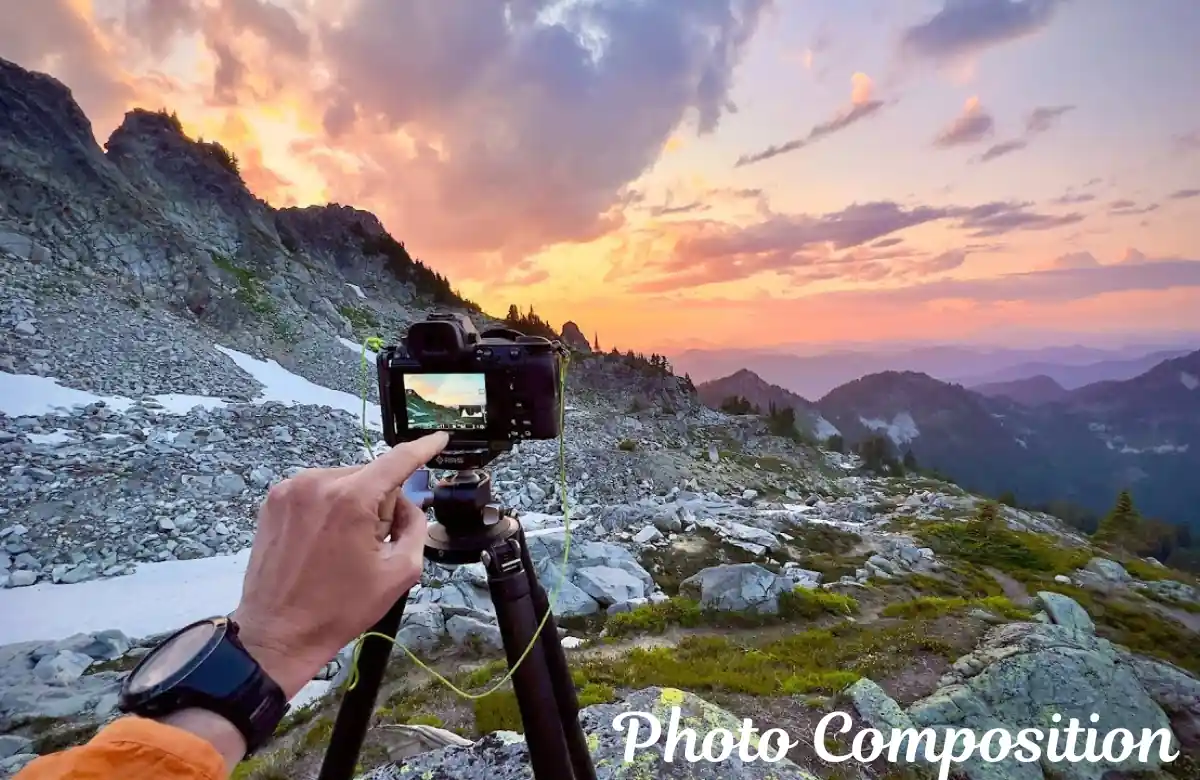
Strong composition turns ordinary travel photos into visual storytelling. I learned this photographing local neighborhoods along Iceland’s Ring Road, where landscapes demand structure.
The rule of thirds is a starting point, not a rulebook. Place the main subject slightly off-center. Use the grid to guide the eye without forcing symmetry.
Leading lines appear everywhere when you slow down. Streets, railings, bridges, staircases, even tour buses create natural paths. I often use roads near world heritage sites to guide attention into the frame.
Depth matters. Add foreground elements like doors, plants, or shadows. Balance midground subjects and backgrounds for a sense of place.
Framing adds context. Windows in old European buildings or tree branches near Delicate Arch create focus without clutter.
Breaking rules works too. Centering a subject can feel powerful in portrait mode or when capturing a decisive moment inspired by Henri Cartier-Bresson.
Try this exercise today. Walk one block. Shoot the same subject three times using different angles, distances, and framing. You will see improvement immediately.
Choose the Right Travel Photography Gear Without Overpacking
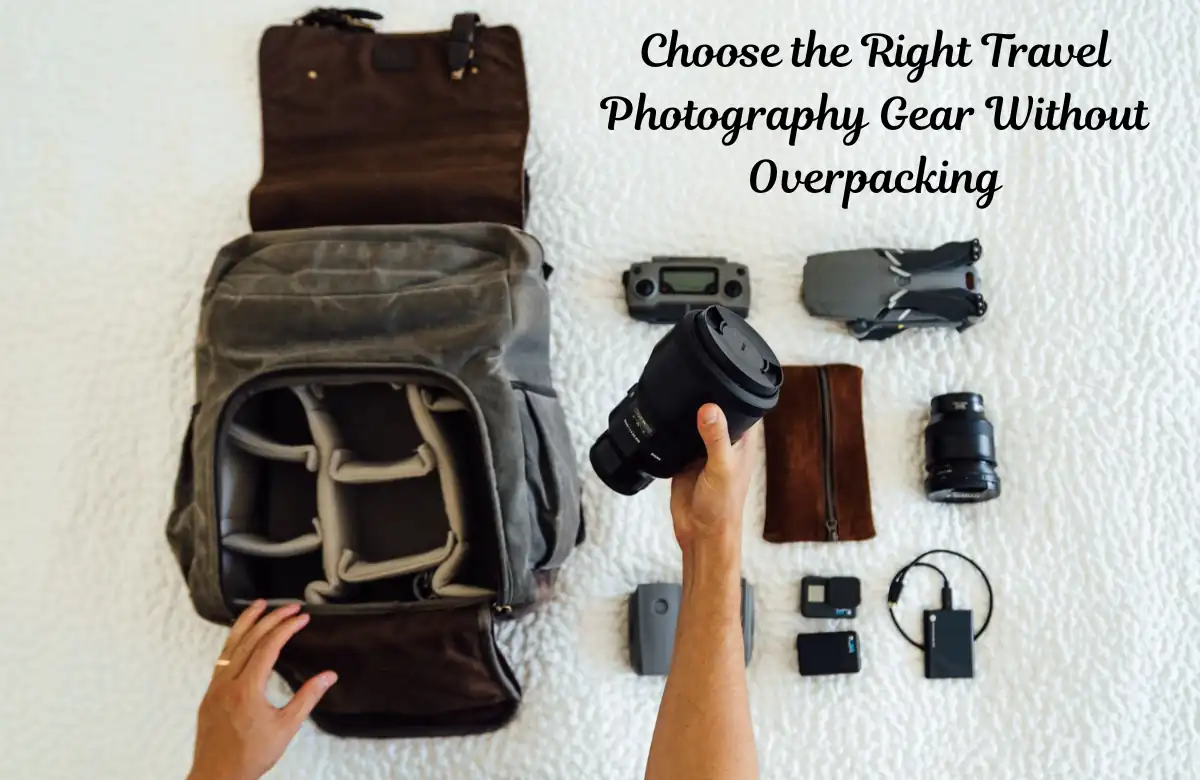
After years on the road, I learned that camera gear should support the journey, not control it. I have carried everything from a Canon 90D to a compact Canon M50 through local markets and off the beaten paths.
A mirrorless camera offers flexibility, but smartphone cameras now handle most travel photos well. What matters is knowing your tool, not upgrading constantly.
Lens choice changes everything. A wide angle lens works best for landscapes, urban locations, and world heritage sites like the Opera House or the Great Lakes shoreline.
A prime lens is my go-to for portraits and low light. It creates shallow depth of field and handles street scenes without attracting attention.
Small accessories matter more than bodies. I always carry extra memory cards, a lens cloth, and a lightweight tripod for long exposures and blue hour shots.
For protection, I rely on the Shimoda Explore v2 30L. It fits under airplane seats and keeps camera gear safe on cruise ships and rough bus rides.
Backups are non-negotiable. I use a Samsung T7 SSD, digital card copies, and cloud backup whenever Wi-Fi allows.
How to Take Better Travel Photos With Your Phone
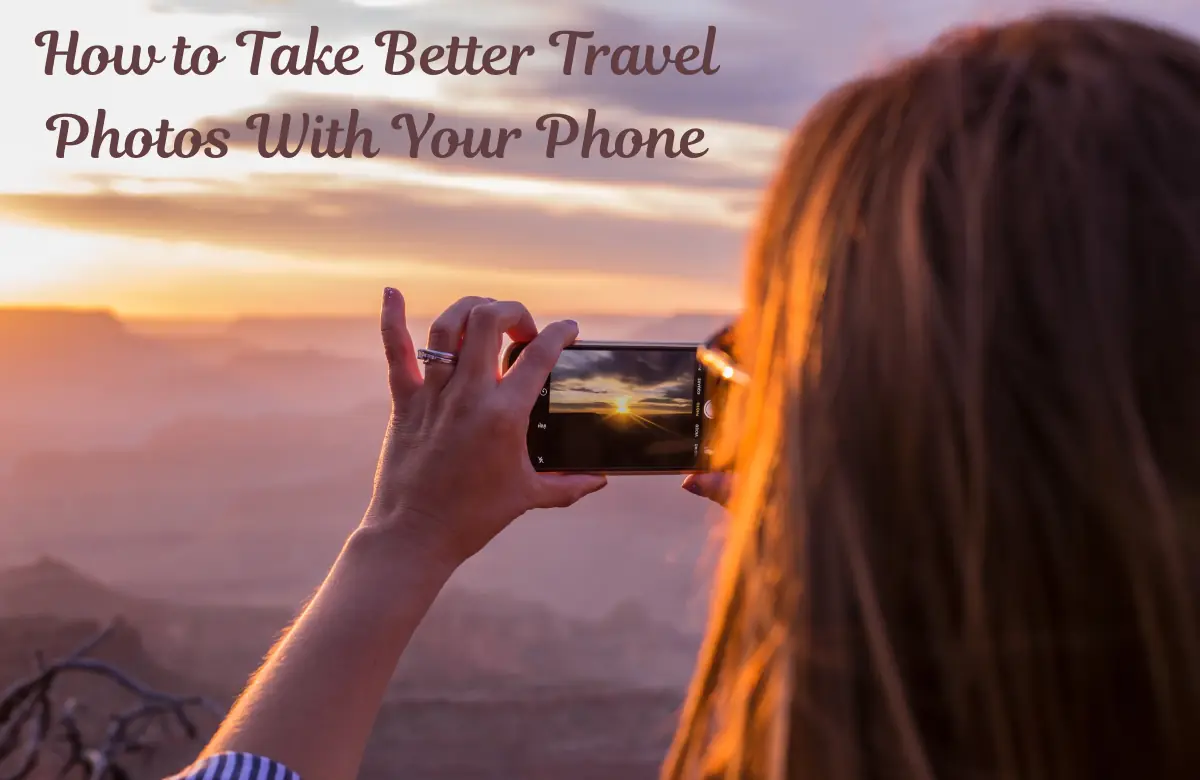
Some of my most published travel photos came from a phone, including images later used in digital marketing campaigns. Learning how to take better travel photos with phone changes everything.
Turn off digital zoom. It reduces image quality instantly. Step closer instead, or crop later during photo editing.
Activate grid lines to apply the rule of thirds easily. Use exposure lock to control highlights, especially during golden hour.
Portrait mode works well for people and food. It struggles with busy backgrounds and street scenes. Know when to switch it off.
Many phones now shoot RAW files. Use them when light is tricky. RAW gives flexibility during editing in Adobe Lightroom or Lightroom Mobile App.
Clean your lens before every shoot. Dust ruins more travel photos than bad settings.
Useful apps should stay simple. Lightroom Mobile App and basic HDR images tools help without over-processing or artificial looks.
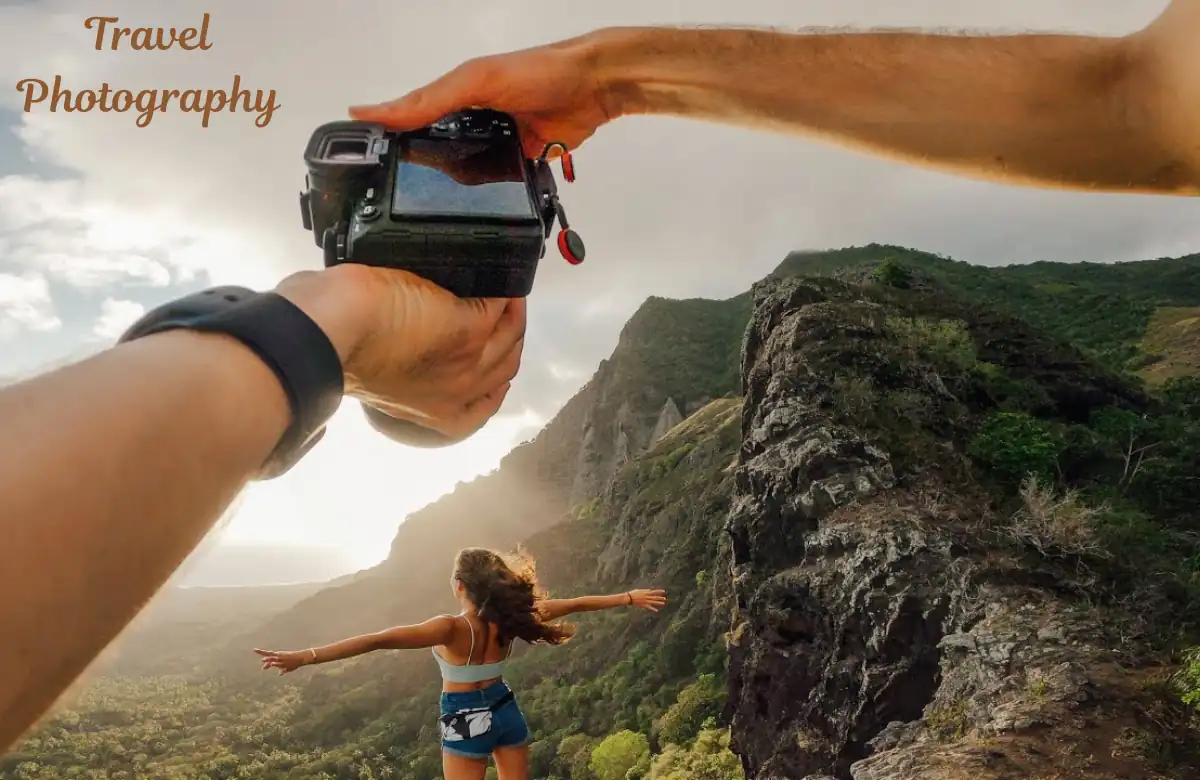
Add People and Story to Your Travel Photos
Empty landmarks feel lifeless after a while. I noticed this photographing tourist scenes near the Trevi Fountain and Grand Canyon overlooks.
People add scale, emotion, and context. A single figure walking through a local neighborhood tells more than a clean postcard view.
Respect matters. In local markets, I often smile, point to the camera, and wait. If the answer is no, I move on.
Candid shots capture honest moments. Posed shots work best when locals are comfortable and engaged, not rushed.
Street scenes come alive with layers. Vendors, movement, signs, and light combine into visual storytelling.
Think in sequences. One wide shot, one close detail, one human moment. Together, they tell a stronger travel story than a single frame.
Cultural awareness matters. In some regions, photography feels intrusive. Experience taught me when to lower the camera and observe instead.
Shoot Smart in Crowded and Difficult Places
Crowds are part of travel photography. I learned this fast at the Trevi Fountain, Sydney Harbour Bridge, and popular viewpoints in Yellowstone National Park.
Timing solves half the problem. Early mornings and late evenings remove tour buses and cruise ship crowds. Google Maps helps spot quiet access points most visitors miss.
Angles hide people better than patience. Shoot low, shoot high, or frame tight. I often step close to walls or railings to block distractions.
Long exposures work wonders in busy locations. With a tripod and ND filter or neutral density filter, moving crowds disappear while architecture stays sharp.
Weather adds complexity, not limits. Rain deepens colors in urban locations. Fog softens landscapes. Wind adds motion to street scenes and trees.
Some conditions refuse to cooperate. When that happens, I slow down, wait for the decisive moment, and let the scene settle instead of forcing shots.
Edit Travel Photos Without Ruining Them
Editing finishes the work, it does not fix lazy shooting. I learned this editing travel photos for stock images and publications like the Baltimore Sun.
Start with exposure. Adjust highlights and shadows gently. Avoid pushing sliders to extremes.
Contrast adds depth but too much kills detail. I keep it subtle, especially for unique landscape and street photography.
White balance matters more than most realize. Correct it first before touching color or saturation.
Cropping tightens the story. Remove distractions without changing the original intent of the photo.
Avoid heavy filters and artificial HDR images. They age poorly and flatten visual storytelling.
Mobile tools work well for quick edits. Adobe Lightroom on desktop offers control for larger projects. Both should protect realism.
Final Words
After years of travel photography, I know this much. Better travel photos come from attention, not equipment.
Learning how to take better travel photos means slowing down. Watching light. Respecting people. Understanding place.
Practice matters more than perfection. Missed shots teach more than lucky ones.
Your travel photos should reflect how it felt to stand there, not how social media expects them to look.
Carry curiosity, patience, and awareness. Those tools never run out of battery, and they always improve how you take better travel photos.
Frequently Asked Questions
1. How can beginners learn how to take better travel photos quickly?
Start with light and composition. I have watched beginners improve fast by shooting during golden hour and using the rule of thirds consistently. Gear comes later.
2. How do you take good travel photos with phone cameras?
Modern smartphone cameras are powerful. Turn off digital zoom, clean the lens, use grid lines, and shoot in good light. That alone fixes most problems.
3. How do you take good travel photos with iPhone specifically?
Use exposure lock and portrait mode carefully. Shoot in RAW when possible. Edit lightly in Lightroom Mobile App to keep colors natural.
4. How do you take travel photos of yourself without a tripod?
I often use walls, benches, or railings as support. Panorama mode works well when you ask a stranger to tap once and walk away.
5. What camera gear do travel photographers actually carry?
Most travel photographers keep it simple. A mirrorless camera, one prime lens, one wide lens, spare memory card, and lightweight tripod.
6. How do you avoid tourist crowds in travel photos?
Timing beats luck. Sunrise, blue hour, and bad weather clear tourist scenes faster than waiting all day.
7. Is editing travel photos cheating?
No. Editing is part of photography. I adjust exposure, white balance, and crop, then stop before the photo loses realism.
8. How do you capture authentic street scenes without offending locals?
Slow down. Make eye contact. Ask when needed. In many local neighborhoods, respect matters more than the shot.
9. What makes travel photos look professional?
Strong light, clear focal point, clean composition, and patience. Expensive camera gear alone does nothing.
10. How do you store and protect travel photos on long trips?
I back up daily. Digital card copies, a Samsung T7 SSD, and cloud backup protect years of travel photos from loss.